First, a word about image editing in Qimage
Qimage (Lite, Pro, Studio, and Ultimate) allow you to apply any and all image editing functions such as sharpening, brightness, contrast, fill light, levels, curves, tone targeting, and much more by association. Instead of editing your original files and having to save edited copies to clutter your hard drive, Qimage simply associates a small parameter file with the image so that each time the image is accessed (by Qimage), the edits are applied. This also means that you can reopen and re-edit the photos at any time and your previous edits can be reviewed, changed, or removed! This "associative filtering" method was first invented and introduced by ddisoftware in the late 1990's as a way to modify images without having to resave them.
All of these examples were created simply by selecting an amount of unsharp mask and clicking once with an eyedropper. No making selections, no creating complex layers, and no modifying the original image!
Introducing Tone Targeted Sharpening
Qimage Ultimate takes Qimage's sharpness equalizer concept to the next level with tone targeted sharpening. Simply stated, tone targeted sharpening is a special unsharp mask that can be targeted to sharpen (or soften) only your primary subject. Now with just the click of an eyedropper on your subject, you can sharpen or soften only the important parts of your photo. Make your subject pop right out of the photo by sharpening it without affecting other colors or even go the other way and soften only the skin tones in a portrait to reduce the appearance of wrinkles while keeping eyelashes and hair razor sharp.
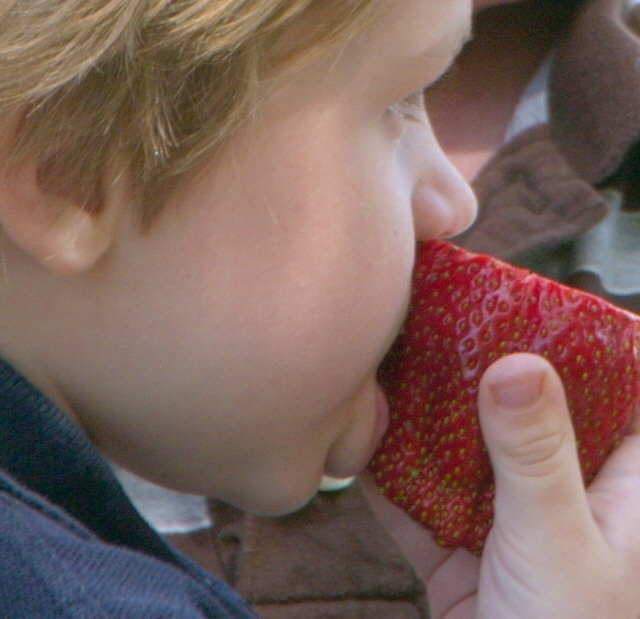
| Fig. 1 - Sharpen the strawberry | |
 |
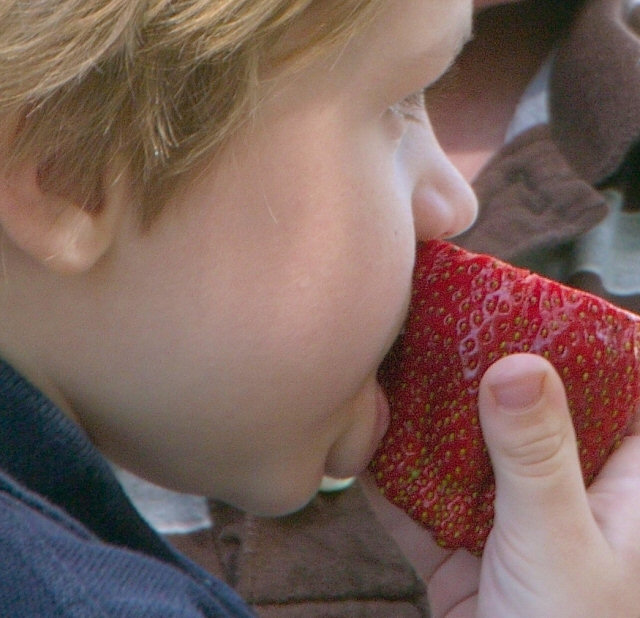 |
| Original (100% crop) | After sharpening only the strawberry (100% crop) |
Figure 1 goal:
Sharpen the strawberry without sharpening the rest of the photo
Figure 1 steps:
-
Double click the image to open it in the image editor
-
Click the eyedropper button under "USM Tone Targeting"
-
Click the dropper on the strawberry
-
Enter a typical "exaggerated" USM radius/strength like 2/200
-
The USM is applied only to the strawberry
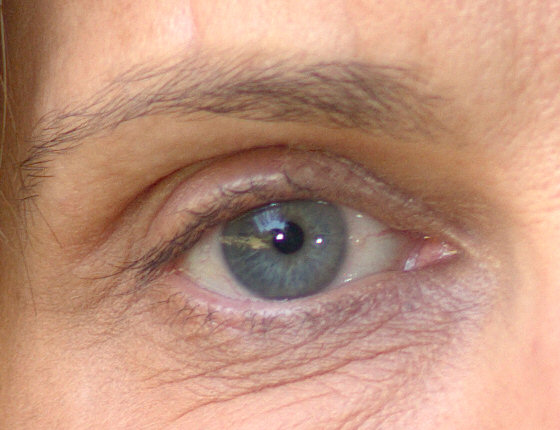
| Fig. 2 - Sharpen facial features without marring skin | |
 |
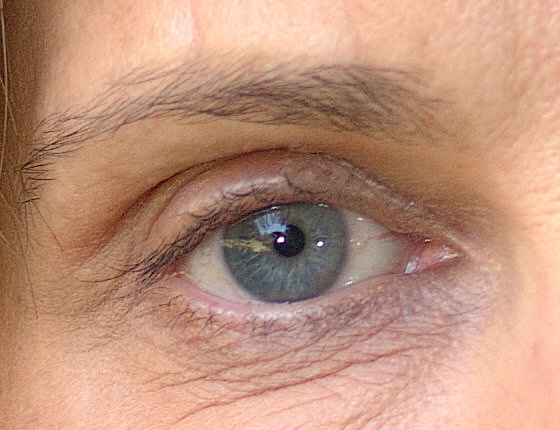 |
| Original (100% crop) | After sharpening everything BUT skin tones (100% crop) |
Figure 2 goal:
Sharpen facial features without making fine lines and wrinkles in the face more prominent
Figure 2 steps:
-
Double click the image to open it in the image editor
-
Click the eyedropper button under "USM Tone Targeting"
-
Click the dropper on the face
-
Click the color swatch to the left of the dropper and select "Target all EXCEPT the selected RGB"
-
Enter a typical USM radius/strength like 1/150
-
Fine tune the off--max slider: 80% was used here
-
The USM is applied everything except skin tones!
Other Examples:
| Fig. 3 - Sharpen subject but not background | |
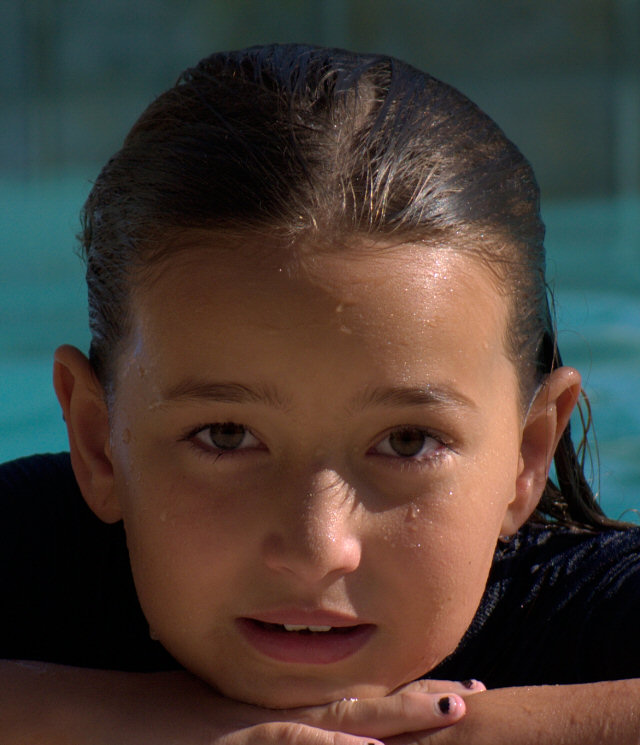 |
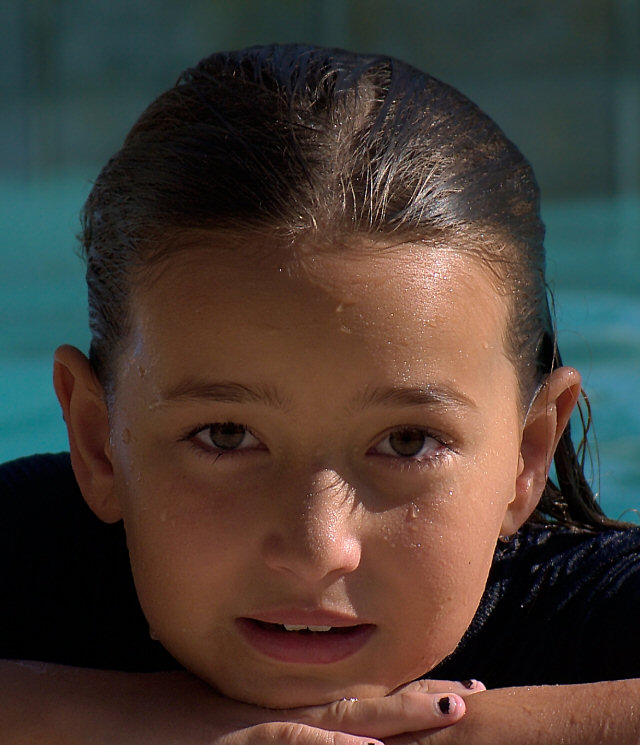 |
| Original (100% crop) | After sharpening foreground, excluding the background (100% crop) |
| Fig. 3 - Sharpen subject but not background | |
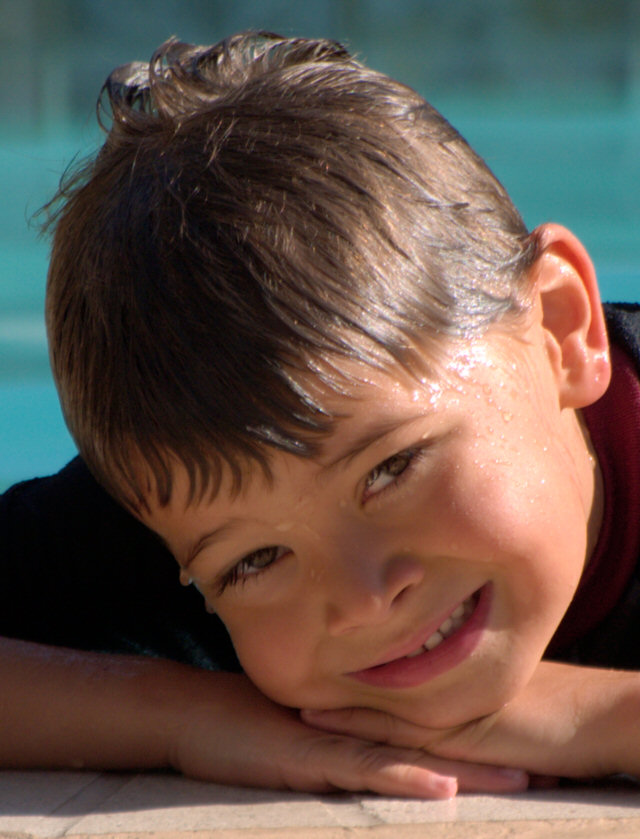 |
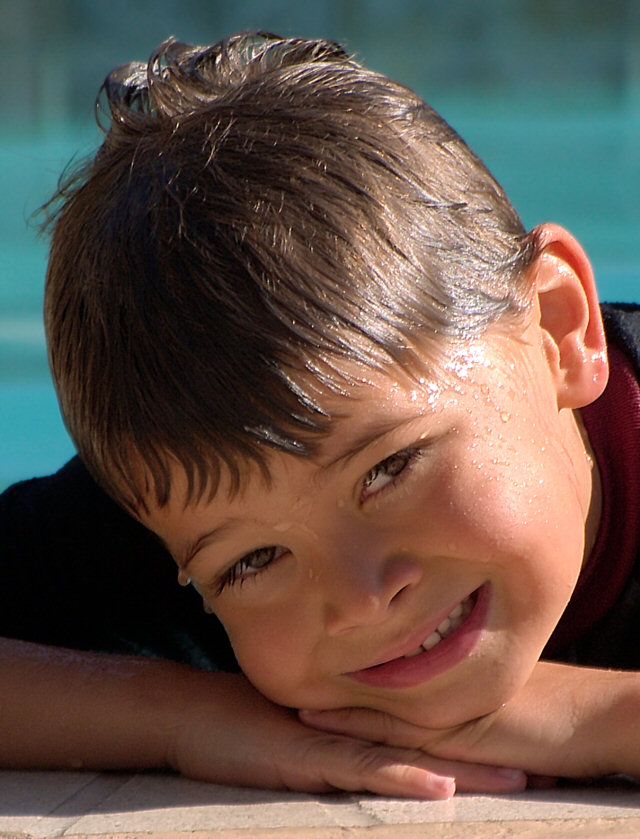 |
| Original (100% crop) | After sharpening foreground, excluding the background (100% crop) |
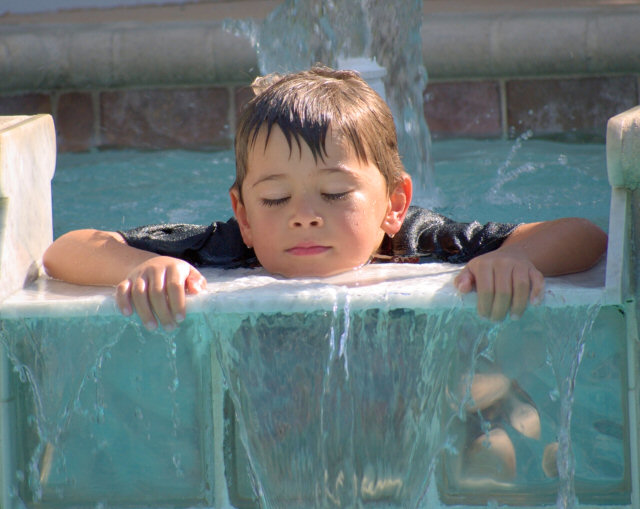
| Fig. 4 - Make the water more inviting without affecting the subject | |
 |
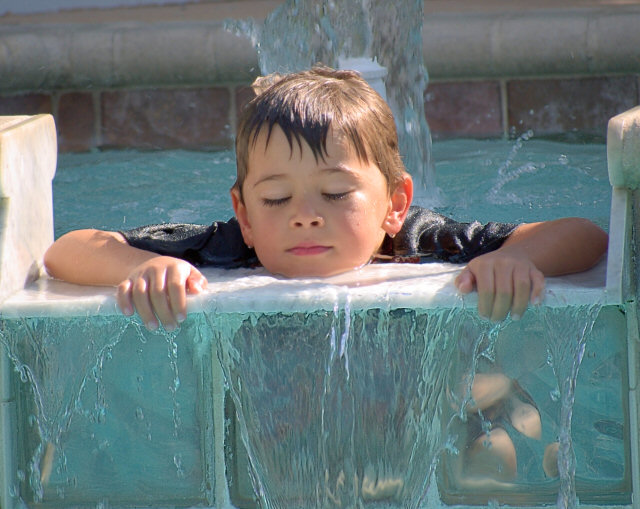 |
| Original (100% crop) | After sharpening water only (100% crop) |
We at ddisoftware, Inc. are not the only ones excited about this new innovation in selective sharpening! Our users are going crazy over this new technology and many are creating some beautiful photographs just by using unsharp mask and the touch of an eyedropper. Click the link below for some examples posted by our users.
Check out some creative examples posted by some of our Qimage Ultimate users!